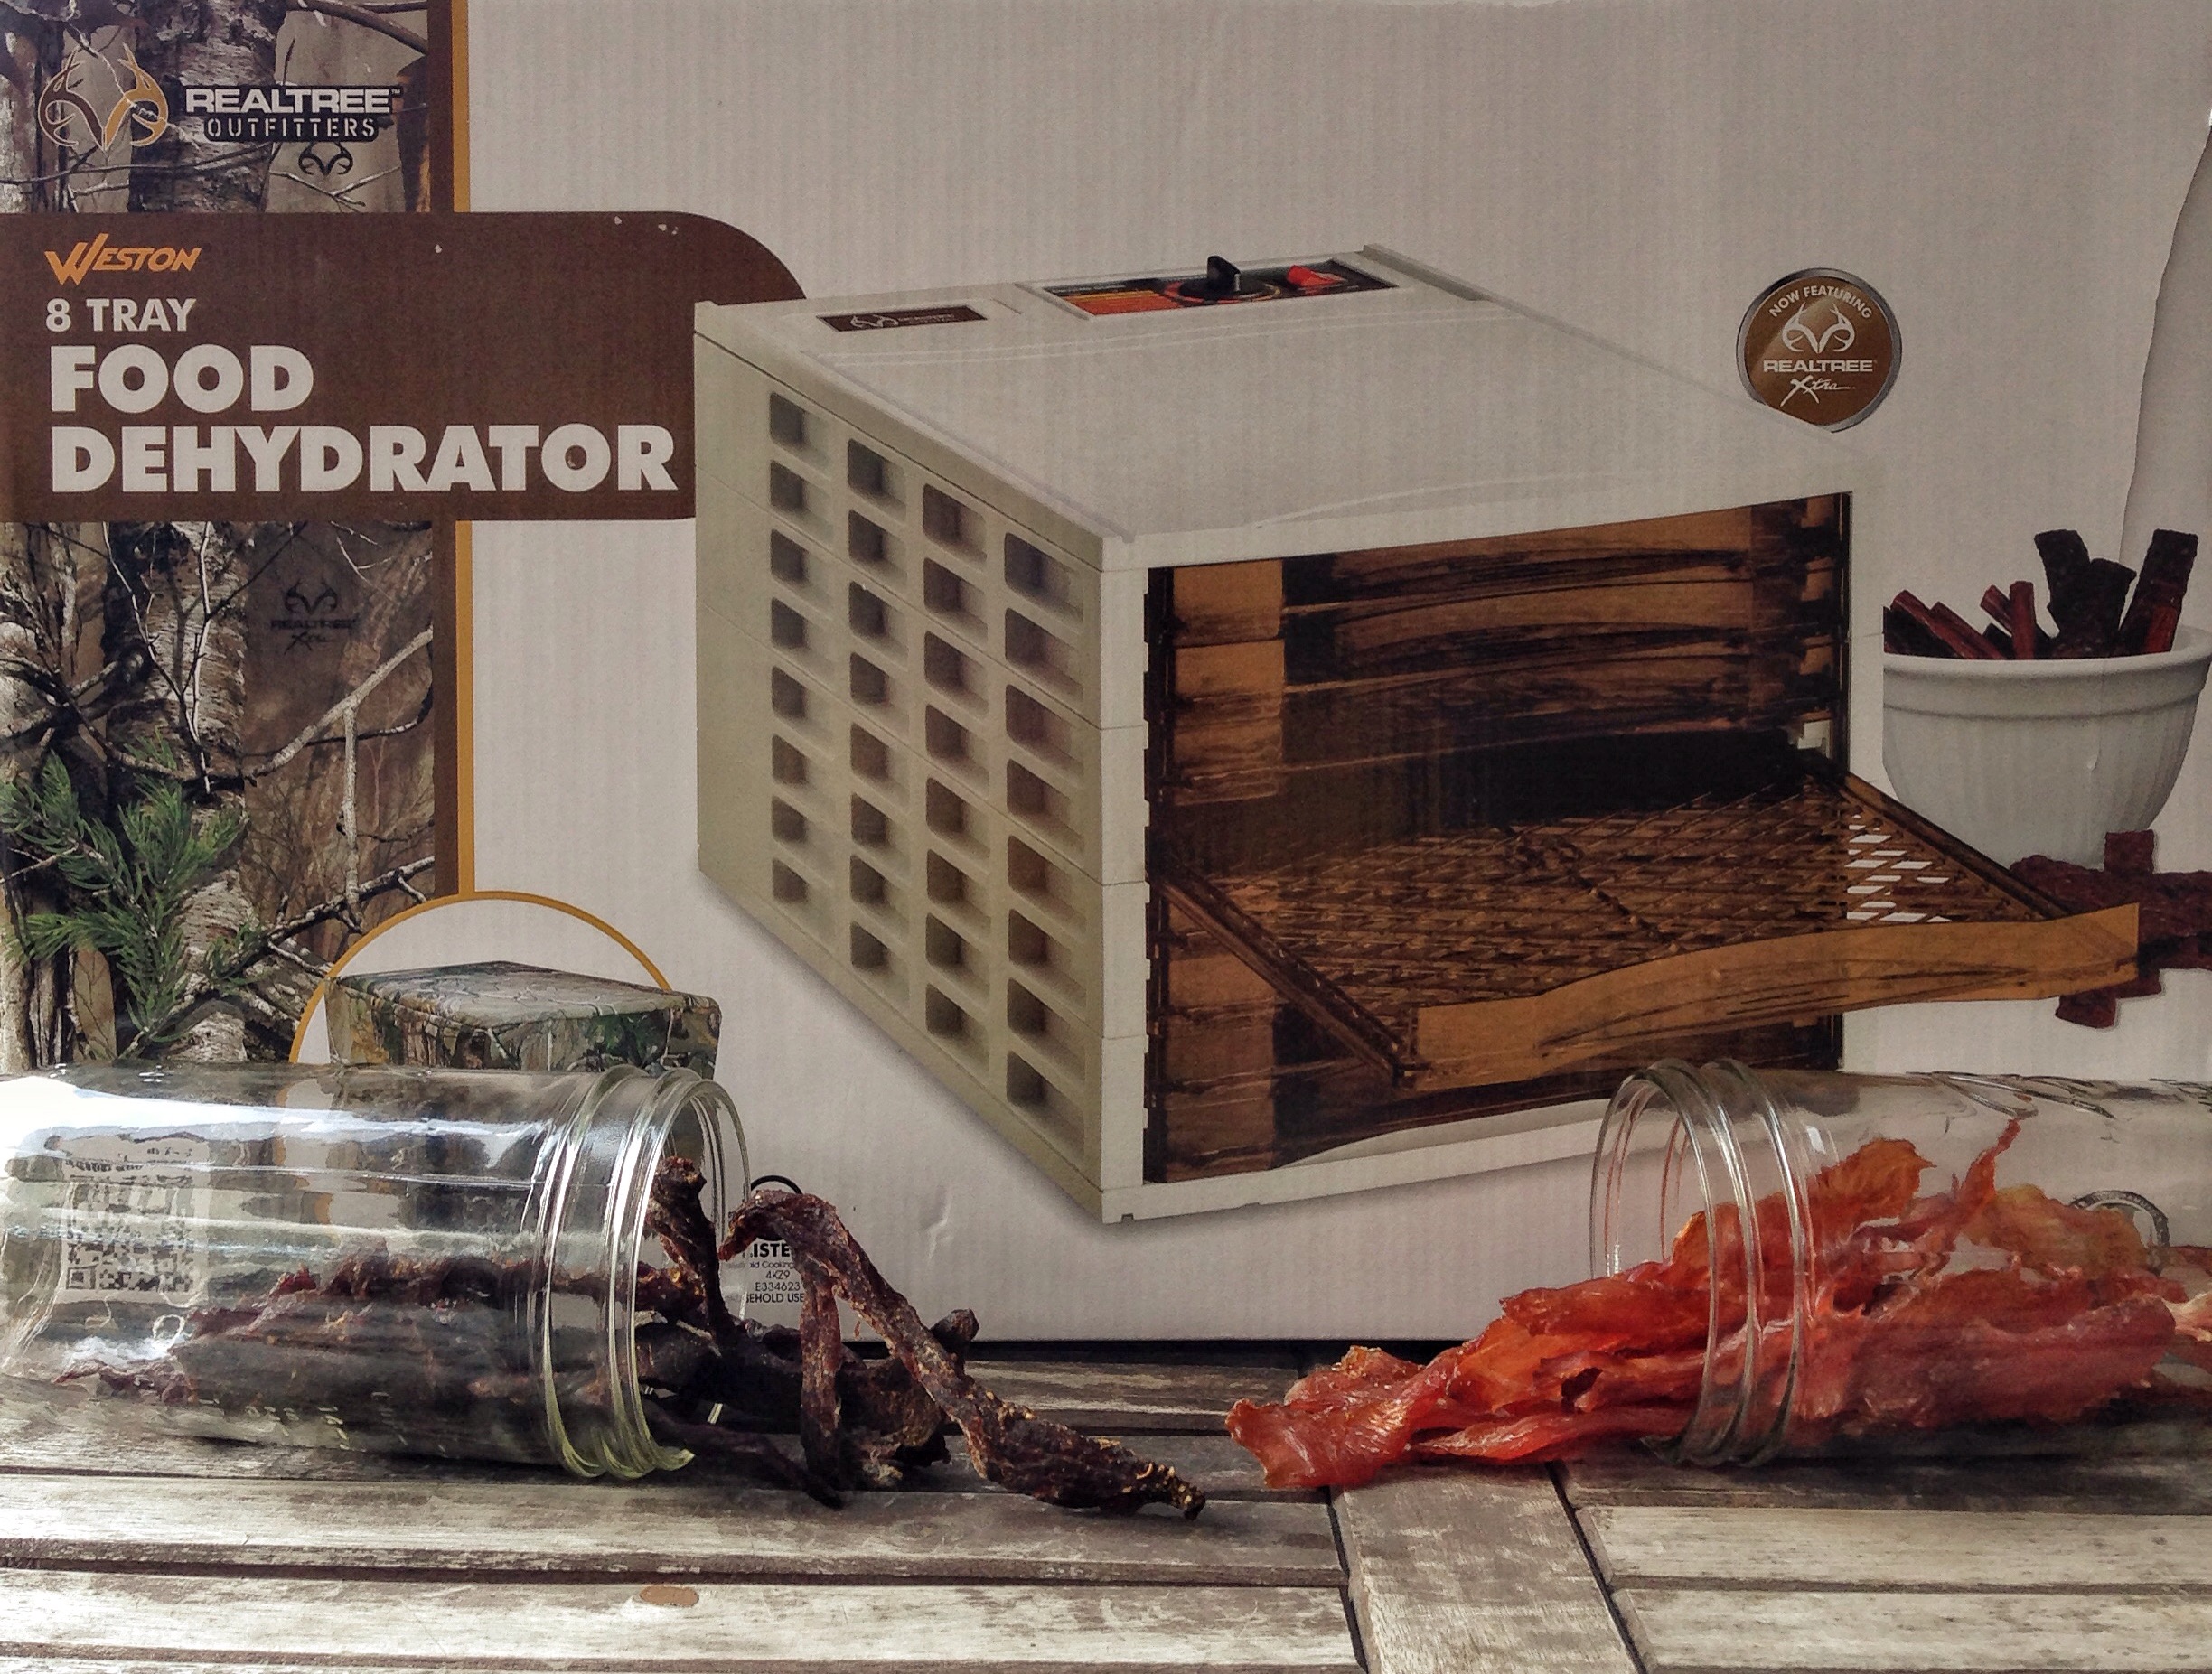
Jerky is one of the easiest ways to preserve your wild game meat. Not only is jerky a delicious healthy snack for when you’re on the go, it’s also a wonderful source of protein while out in the field. Check out my favorite Weston dehydrator

So let’s begin and figuring out three things that will come into play for your jerky.
1: What cuts of meat.
2: What style of jerky are you looking to make.
3: What flavors

1: What cuts of meat;
Most people I’ve talked to who’ve had horror stories making any type of domestic or wild game jerky said they have used the wrong cuts of meat. But Any meat can be turned into jerky with the right care and know how.
The first thing you’ll want to look at when selecting a type or cut of meat to start the jerky making process is fat. Fat can cause your jerky to spoil at a much faster rate, causing it to become rancid and unsafe to eat. Fat also tends to release more fatty oils when drying causing the whole drying time to double. If you’re taking longer to dry your meat this will in most cases cause your jerky to be tougher and not pleasant to eat.

Some of the best cuts to look at while making your selection are;
Backstraps, rumps and shoulders
Poultry and fish can also be great alternatives to your typical red meat style jerky.
Some cuts to consider for fish and poultry are
Fish: Fish with a low fat content such as bass, pike, and crappie will be great choices for jerky, try avoiding supper oils fishes. Any filet can work in fish.
Poultry: skinless breast meat is your best option when it comes to any bird. Ive created Duck, turkey and goose jerky with great results.
2: What style of jerky:
Jerky comes in many shapes and sizes. Some jerky has been ground, tenderized, sliced and diced. This is the preference portion of jerky making. Me personally I love the traditional style of sliced jerky. So in the post that is what I will be focusing on. If you would like to know about the other type and how to create them feel free to send me a quick note.
3: What flavor:
Here is the best part of creating jerky at home. You can create any Flavor you’d like. Your options are endless on flavor. Creating anything from spicy cracked pepper to sweet smokey flavor. One key factor on flavor is Marinating the meat. 24 hours if the unspoken rule when it comes to jerky marinading.
Now that we have talked about the three areas to consider while picking out what style of jerky you’ll be creating, lets get into some of my favorite marinades..
Ingredients:
1/4 Cup Soy Sauce
1 Cup Water
1/2 Teaspoon Ground Ginger
2 Tablespoons Crushed garlic
4 tablespoons Brown Sugar
1 Tablespoon Honey
2 Tablespoons Cornstarch
1/4 Cup Water
DIRECTIONS:
Mix all but cornstarch and 1/4c water in a sauce pan and begin heating over Med .
Mix cornstarch and water and dissolve. Add to pan.
Heat until sauce thickens to desired thickness.about 4 minutes
Add water to thin if you over-thicken it
Before you use on your Jerky make sure you cool Teriyaki to 41 or below.
Cracked Pepper:
3/4 cup Worcestershire sauce
3/4 cup Soy Sauce
2 Tablespoons Brown Sugar
1 Tablespoon Onion Powder
2 Tablespoons Garlic Powder
2 Tablespoons Cracked Pepper
1 Teaspoon Liquid Smoke (I prefer Hickory)
1/4 Teaspoon Cayenne Pepper
1/4 teaspoon Red Pepper flakes
3/4 water
Directions:
Mix all ingredients together until Brown Sugar has dissolved
Pre-made Marinade
If you don’t have the time to create your own marinade you can use and pre-made marinades. I recommended Jerky Gold or Weston Jerky Marinades.
I love using my Weston 8 tray dehydrator, but all recipes can be used in your oven set at 150-160 degrees to achieve the same results. But having a dehydrator makes the whole process easier.

Once you’ve cut your meat, found the right marinade and let your meat soak for 24 hours it’s time to start drying your jerky!
Most meats will take 10-14 hours to dry fully. How jerky making works is you are sucking the moister from the meat, in turn drying it out. Keeping an eye on thinner cuts and removing when they are dried out.

Oils: if you see little oil spots on your meat while drying simply take a dry paper towel and blot it dry.
Spacing: When laying your meat out on the racks make sure you don’t crowd the meat. You’ll want to leave plenty of room for air flow around the meat to aid in the drying process.
Storage: Glass mason jars are the best for keeping your jerky, but plastic ziploc bags work as great if you’ll be eating your jerky quickly.

